About Sublimation
General – Instructions – Blade settings – Temperatures
What is sublimation?
Sublimation involves special colors (inks) that can be transferred to different surfaces and material using heat.
Which surfaces can be designed?
A big advantage of sublimation is that you are extremely flexible! Whether textiles or smooth surfaces, this process only requires that your object is made of a polyester-coated material (at least 80 % polyester content).
Advantages of sublimation
- Space-saving & flexible: you don’t need a new film for every color (e.g. with iron-on foil) and can spontaneously implement new designs and patterns
- Time-saving
- Transferring photos is child’s play
- More comfortable to wear with textiles (no stiff areas)
- Color gradients and multicolored motifs in one step
- Scratch-resistant motifs
- Draw your own designs freehand with sublimation pencils – and transfer them later
What can be refined
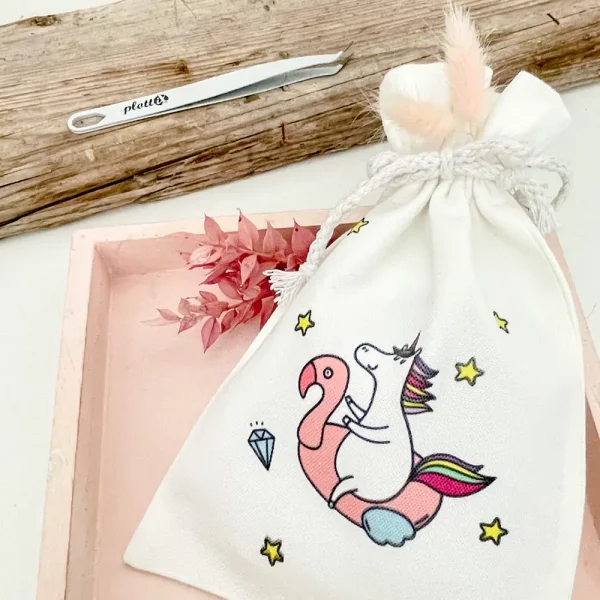
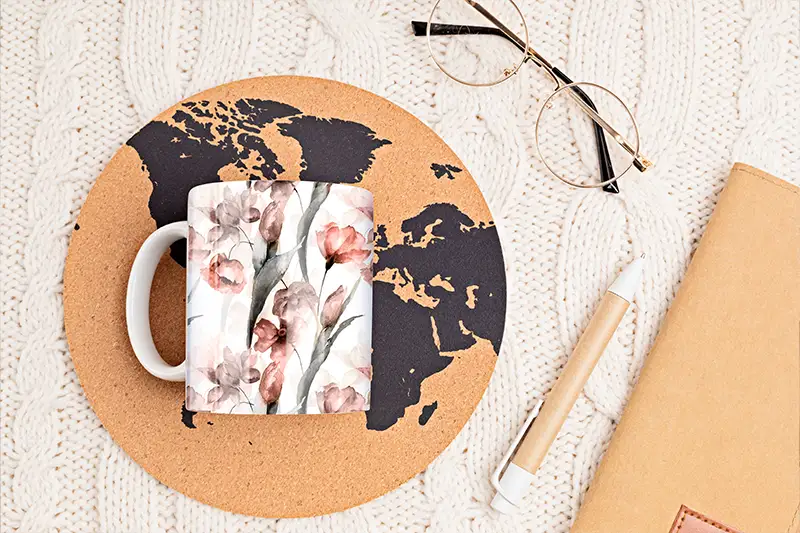
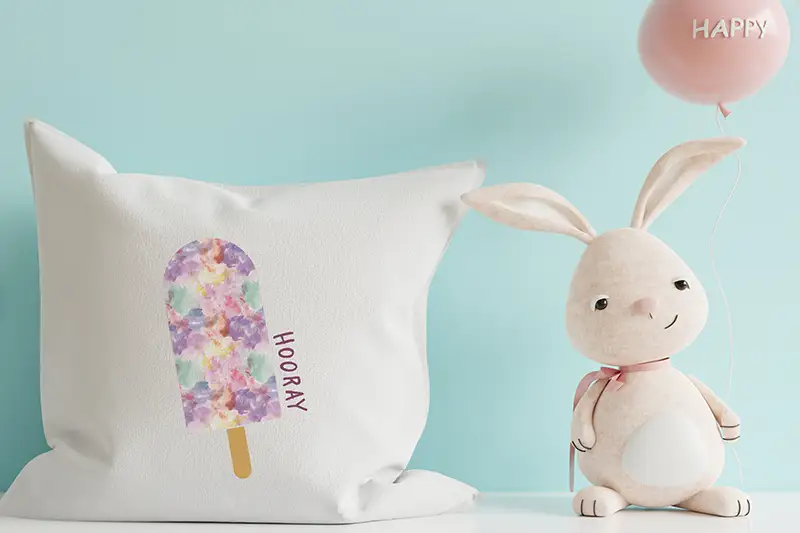
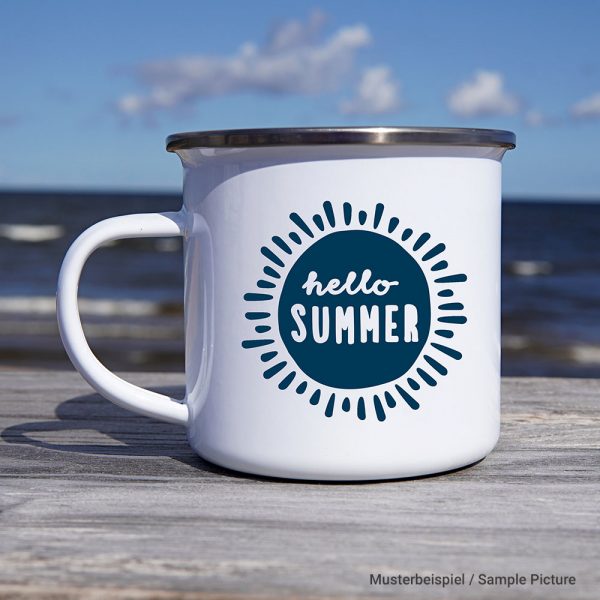
Polyester-coated surfaces (at least 80 % polyester content) are available in a variety of different shapes and materials.
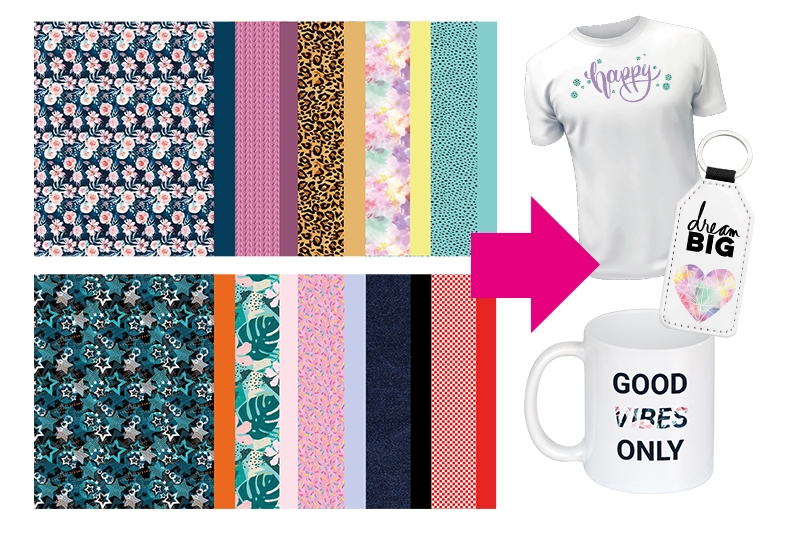
- Cushion covers (also with sequins)
- Shirts & other clothing
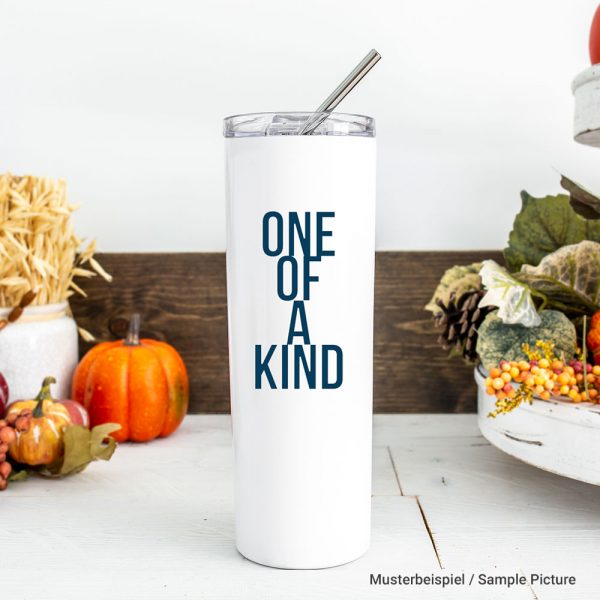
- Cups & Mugs
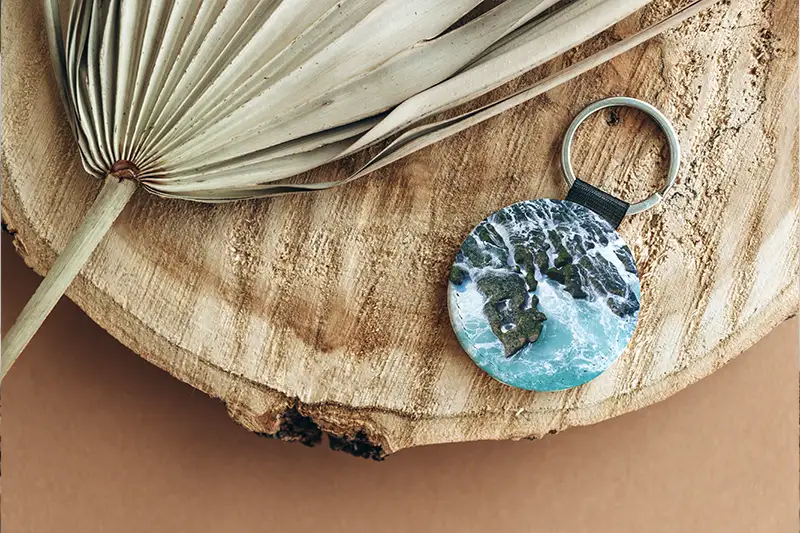
- Key chains
- Bags
- Coaster
- and much more!
Instructions
It’s that simple
What you need
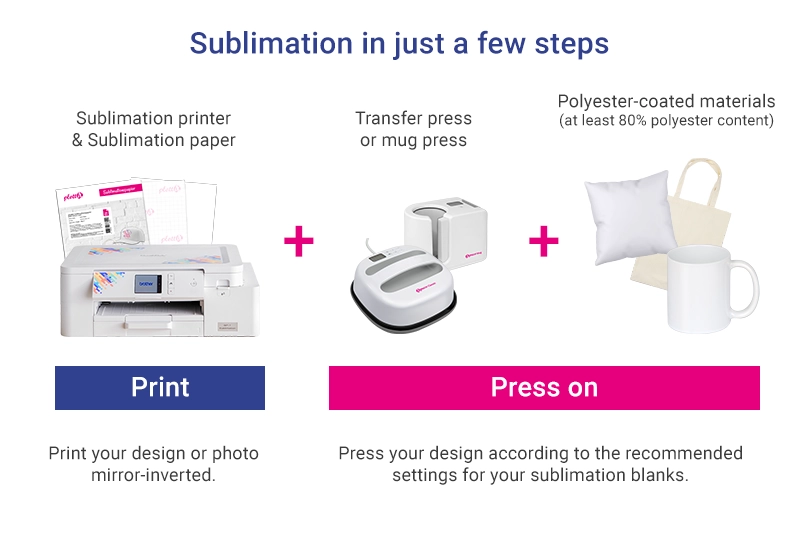
- A heat press / possibly also a mug press
- Your design or picture
- A sublimation printer with sublimation ink and sublimation paper
- Your textile / surface for finishing (polyester-coated material with at least 80 % polyester content)
- Heat-resistant adhesive tape
Step 1
First print your design on suitable paper using a sublimation printer and ink. Alternatively, you can use the pre-printed iXpaper sublimation paper.
Please note that texts must be mirrored before printing.
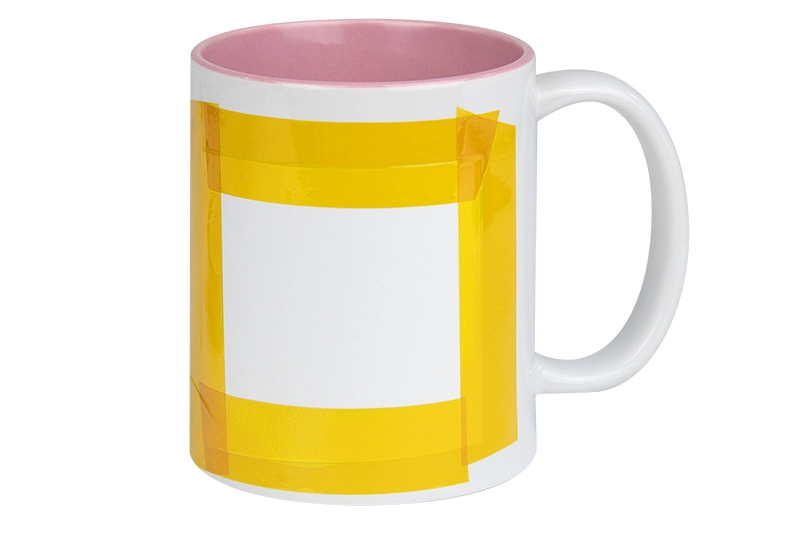
Step 2
Place your design on your surface. Use the heat-resistant adhesive tape when working with cups or similar items.
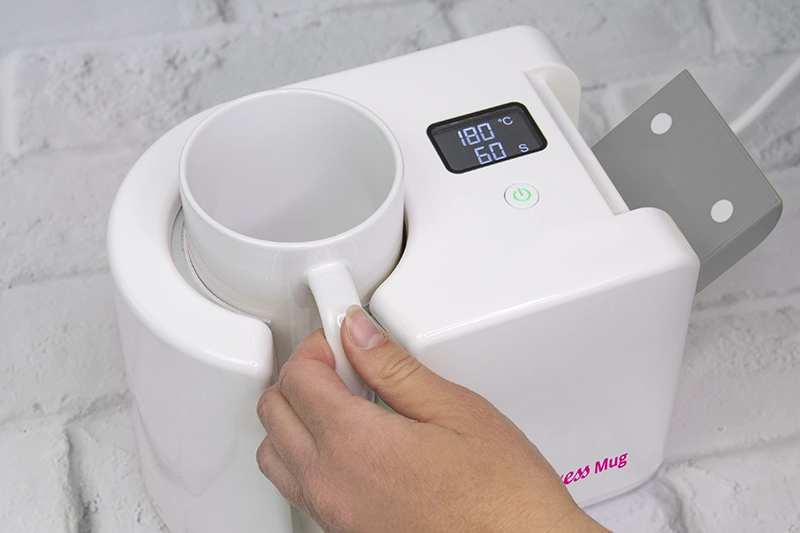
Step 3
Now your design can be transferred using heat. Use a transfer press for textiles or a mug press for mugs to transfer your design perfectly.
Use the temperature & pressing time recommended by the manufacturer.
Step 4
Attention Your object and the sublimation paper are still hot. Wait until they have cooled down before removing / inspecting them.
You can also use heat-resistant gloves.
Done!
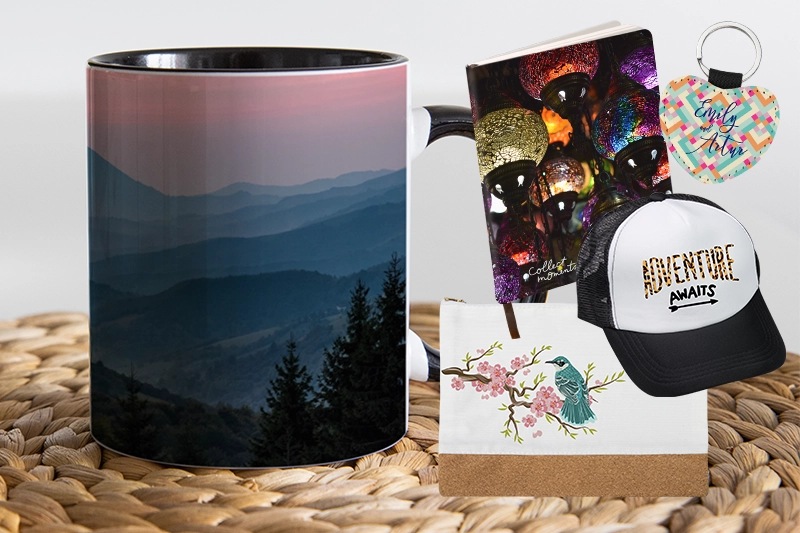
Now its surface is finished with the new design! It’s that simple!
We wish you lots of fun and great creative ideas!
FAQ
Your questions – our answers!
That’s completely normal! The colours achieve their full intensity only after the pressing process onto the final product. When heated, the ink sublimates and reveals its ultimate brilliance.
This can have several causes:
Incorrect material: Only use polyester fabrics or coated surfaces. Make sure you are using polyester or coated products.
Temperature too low or pressing time too short: Check the pressing times and temperature settings.
Uneven pressure from the heat press: Ensure that the material is pressed evenly and firmly. Make sure the sublimation paper is fully and precisely aligned with the material to reliably prevent the occurrence of “ghosting” effects.
Sublimation achieves the best results on white or light-coloured surfaces, as the transparent ink requires a bright base to display its colours clearly and vibrantly. The darker the fabric, the less the design stands out. Therefore, sublimation printing is not suitable for black surfaces.
No, conventional printers are not suitable for sublimation printing. The use of special sublimation ink is crucial, as regular printer ink is not compatible with the sublimation process.
Sublimation does not work directly on cotton, as the ink only reacts with polyester fibres/coating.
No, the sublimation printer is just as easy to use as a conventional printer. You can conveniently create your designs in your preferred software and then send them directly to the sublimation printer.
The duration varies depending on the material. Check with the manufacturer for the optimal pressing time and temperature for your blank and the material used.
