Paint it up foil
Instructions – blade settings – Temperature settings
The Paint it up foil is suitable for light and dark textiles and is characterized by its versatility and creative freedom! You can paint or print (laser printer) your own designs, lettering or stamps on the Paint it up foil!
Use different pens, watercolors and more! The foil can now be cut out. We will show you step-by-step how to do this.
Blade settings
| Device | Blade | Contact pressure |
|---|---|---|
| Silhouette | 4 | 16 |
| Brother CM Series | 2 | 0 |
| Brother DX series* | Auto | Auto |
| When using a Cricut cutting machine** | 230 | Standard |
Please note that the contact pressure may vary depending on the wear of the blade. must be increased.
* Activate half-cut function
** Multi-cut OFF – Blade type: Fine blade
Settings
- Iron on: pre-press hot for approx. 5 seconds
- Place the design (cover with baking paper if necessary)
- Approx. 15 seconds at 160 °C
- Remove the transfer material lukewarm (for laser printing, remove the backing material cold)
Care instructions
Wash and iron your garment inside out. Washable up to 40 °C.
Additional information:
- Suitable for light and dark textiles
- Additional transfer material required for textile foil
- Depending on the printer/pen type and stamp ink, an application test is recommended
Instructions
Step-by-step instructions Paint it up foil
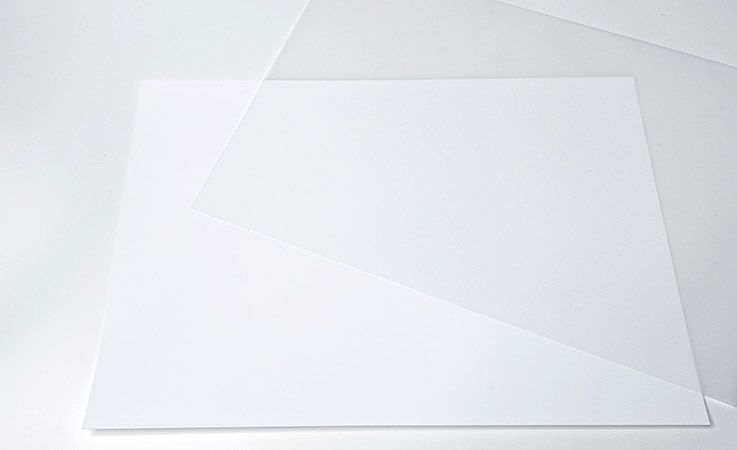
Notes:
- Suitable for light and dark textiles
- Additional transfer material required for textile foil
- Depending on the printer/pen type and stamp ink, an application test is recommended
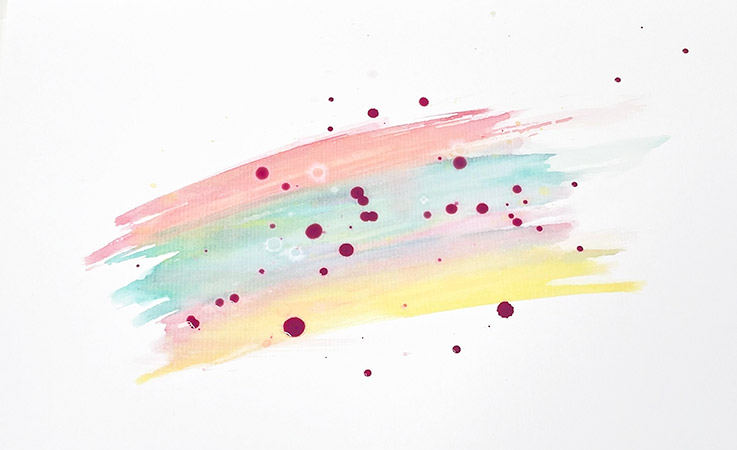
Step 1
Draw a pattern or lettering, stamp a design or print the foil with a laser printer.
Use the matt side of the foil for this.
Notes: Designs do not have to be mirrored.
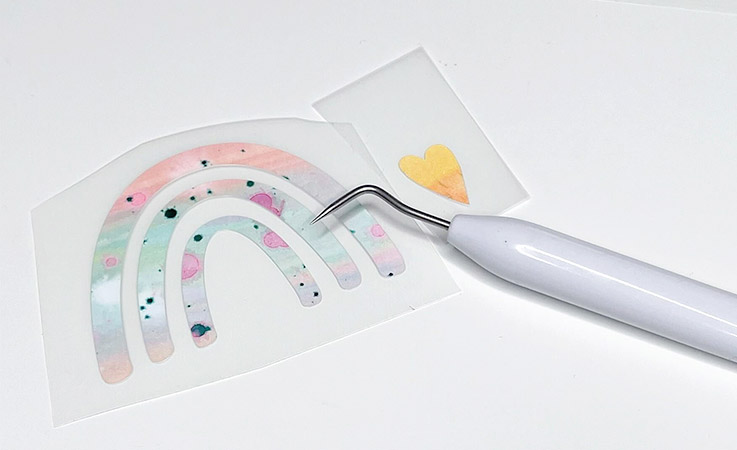
Step 2
If required, you can now cut out your foil with a cutting machine (or scissors) and weed it.
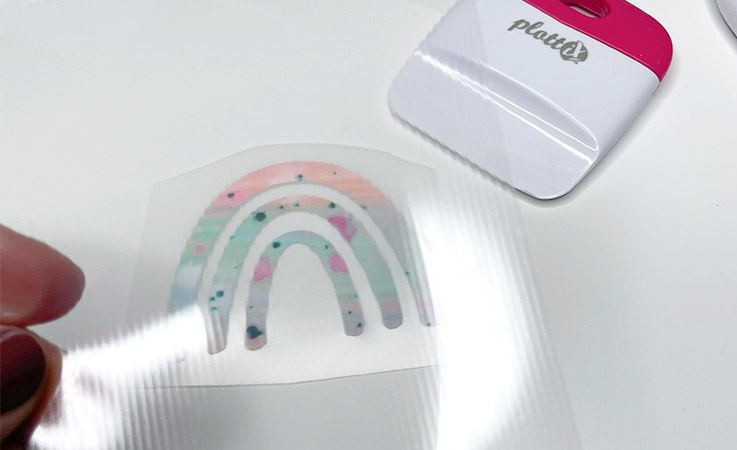
Step 3
Now you can squeegee and transfer your design onto the transfer foil.
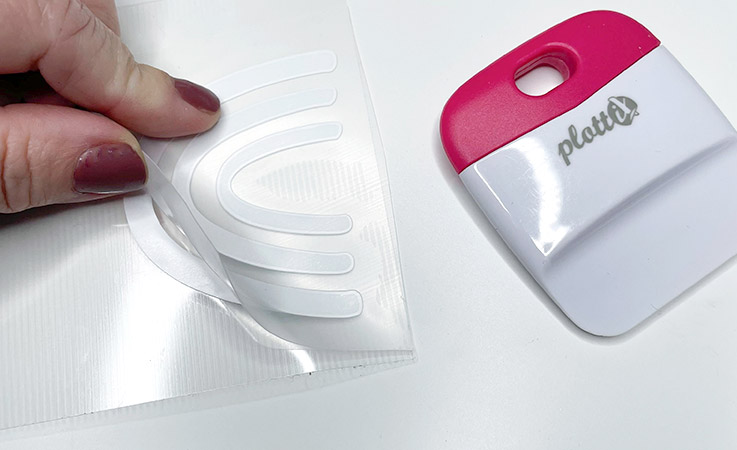
Step 4
The carrier material on the reverse of the Paint it up foil is then removed.
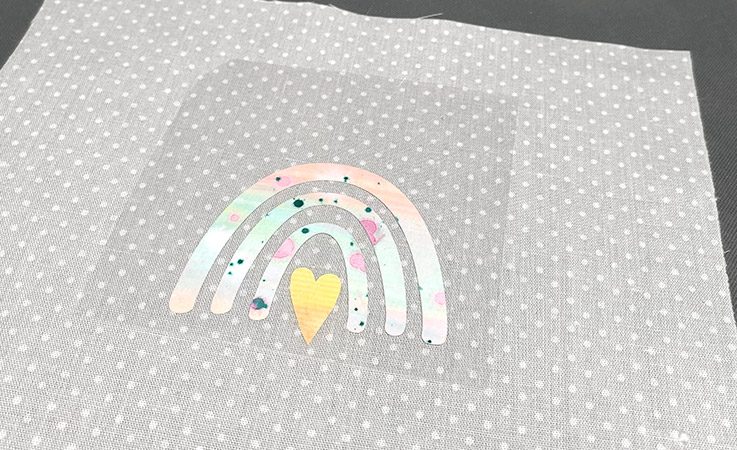
Step 5
Your design is now ready to be pressed on.
Press-on time: 15 seconds
Temperature: 160 degrees
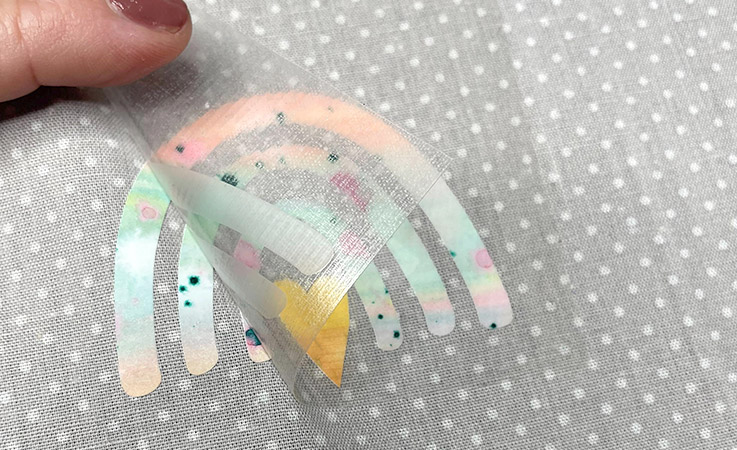
Step 6
After pressing, you can remove the transfer foil (lukewarm).
When printed with a laser printer, remove the transfer foil cold.
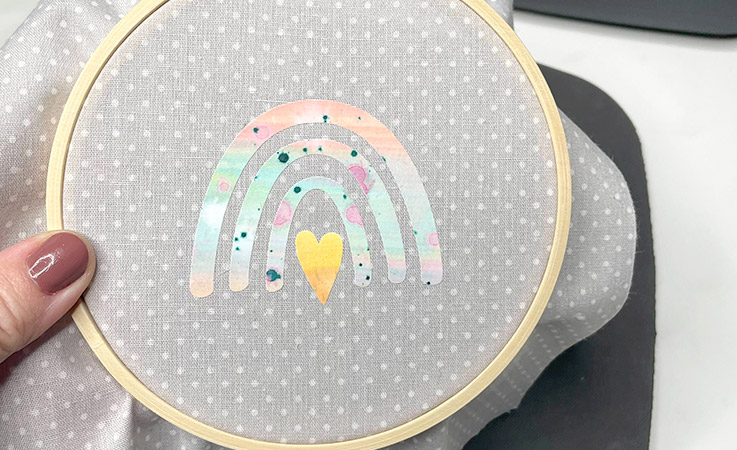
Done!
Tips: Wash the fabric inside out at a temperature of up to 40°.
Only use mild detergents.
Suitable for tumble drying.
